-
Posts
1,754 -
Joined
-
Last visited
-
Days Won
252
Content Type
Profiles
Forums
Gallery
Everything posted by Xtra
-
I believe it is the same material that the engine cover and the air duct that I am modifying are made of.
-
Yes, it is a heavy-duty form of an acrylonitrile butadiene styrene thermoplastic polymer.
-
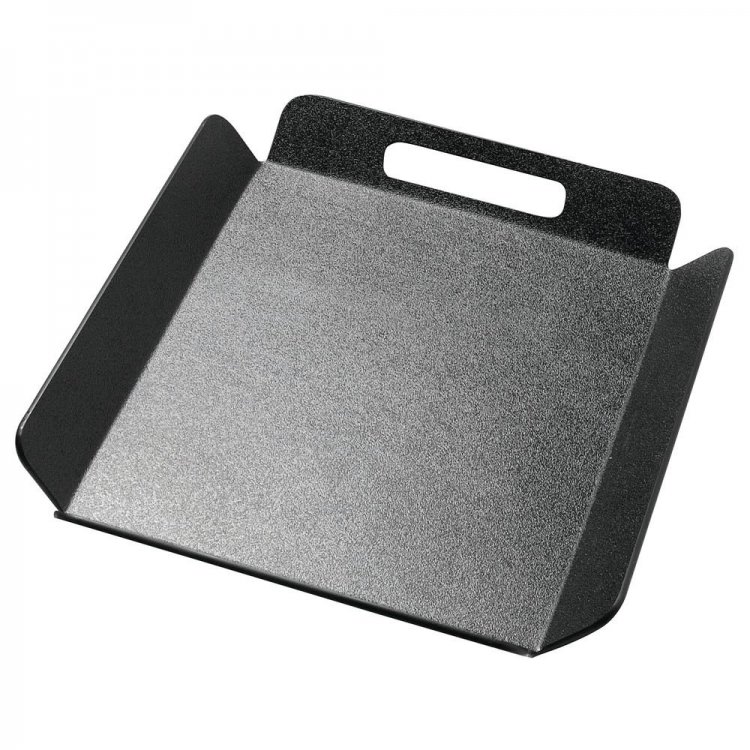
Here is a sample of one of the materials that we are testing. It has a textured finish and smooth on the opposite side.
-

Battery trouble, will the H6 fit in a Sport?
Xtra replied to Xtra's topic in Accessories & Modifications
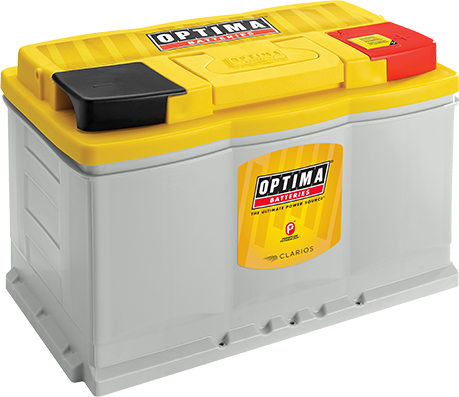
WWWP , I like the yellow top battery because it can be completely drained and recharge 300 times. And I have had good luck with them. The Red top has better starting CCA but can’t handle the abuse the yellow top can. The price is so much that I will look at Batteries you recommend.. I built an electric motorcycle years ago and I used Odyssey on that project they worked great for lead acid tech. -
I have a 2016 Sport that I purchased new. The OEM battery is dying and needs rer[placing again. This will be 3 batteries in 3 1/2 years of ownership, and that is an unacceptable failure rate... The battery that came with the car is the 590CCA Ford (BXT-90T5-590) 9.5L X 6.75W X 7T. I looked up some part numbers and found that another battery is listed for later EDGE models that have auto-stop / start. This is the Ford (BGAM-48H6-760) with 760CCA 10.94L X 6.89W X 7.48T. Does anyone know if the Ford 760CCA-H6 battery will fit in a 2016 Edge Sport that does not have auto start /stop? The H6 difference is it's, 1.5 inches longer X exactly the same width X 1/2 inch taller. To me, it looks like it should fit. If it does fit, then Optima has a YellowTop H6 Battery with 800CCA that is exactly the same size as the Ford 760CCA-H6. I have had great luck with Yellowtop batteries, and the Optima H6 with 240CCA more than the stock 560CCA battery will fix the problem.. If it fits....
-
3032P-B Black anodized 3032P-C. Clear anodized
-
It is looking like it is not going to happen this week, the shop is just to busy with making Covid Shields. Not all progress has stalled though. I have been working on, and have located, a new material supply vendor that is looking very good. ?
-
JLT Performance just announced today that their 3.0 Oil Separator now fits 2015 to 2018 Edge 2.0.
-
Nice job ? Should look good when done, and those tires will make a big difference.
-
Took the mold to the shop and have to wait until they can get to it. They are super busy making those clear plexiglass Covid shields that you see everyplace now. I hope they find some time this week . I want to keep the momentum going.
-
Thank you WWWPerfA_ZNOW, I have a lot more respect for sculptures now. LOL The first test part will be made with clear polycarbonate. That way I can check the fit, see if there is any interference anyplace, and I can locate the mounting holes exactly.
-
-
Today I added a port for positive air pressure. The idea is that after the plastic has been vacuumed tight onto the mold, a shot of air is used to pop it loose from the mold to help release it. With this addition, fabrication is complete . All that is left to do is to bolt the mold to the frame, and it is ready.. Still, there are many unanswered questions. Will it work? - Will the part fit? - Will it look good? .....
-
Talked to the plastic shop today and showed them my progress, everything is looking good so far. There are just a couple more things to do. With luck should be ready by Friday. Then the fun part .. testing next week.
-
The magic of fiberglass.. Ding repairs are not that difficult, but they are time-consuming, smelly and messy. Magic 8 Ball, will this be my last surprise ? .
-
Finished potting the bolt anchors and chased the threads with a tap. It is finished ready for assembly and testing. !!! Unfortunately..... when I turned the mold over I discovered that, when I potted the anchors some resin got into one of the vacuum holes I drilled and leaked out then hardened on top of the mold. I believe that the anchor bolt hole intersected a vacuum hole. When I went to remove the drip, the finish coat chipped! I marked the suspect holes that it leaked through and will redrill them to make sure they did not fill up with resin. Thought I was finished .. Now I have to redo the finish... LOL, always something.
-

What have you done to/with your Edge/MKX today?
Xtra replied to WWWPerfA_ZN0W's topic in Accessories & Modifications
Thank you, everyone, for your support. You are correct WWWPerf-ZNOW, though there was no damage and the loss of a couple of bucks is minor, I do feel violated, the guy walked past my gate, up my driveway, and the car was just 10 feet from my front door. Photos have been posted on our local neighborhood watch website, and the police have been notified. -

What have you done to/with your Edge/MKX today?
Xtra replied to WWWPerfA_ZN0W's topic in Accessories & Modifications
I believe you are correct sir. the video shows the thief pointing something at the door of the car, then he drops it and picks it up, it looks similar to a key fob. -

What have you done to/with your Edge/MKX today?
Xtra replied to WWWPerfA_ZN0W's topic in Accessories & Modifications
Very interesting, as much as I would like to use something like this, or a baseball bat, the liability is too great for me. -

What have you done to/with your Edge/MKX today?
Xtra replied to WWWPerfA_ZN0W's topic in Accessories & Modifications
Last night my car was broken into. Most of my neighbors have security cameras of one kind or another, and it was a gang of 3 men ( could have been more, but the videos only captured 3 of them. They hit every car on the street and somehow opened my car as fast as if they had keys. They could not get into my neighbors Audi or his Chevy truck though. Two men on one side of the street, one man on the other side. They could cover and watch each other work from across the street. If I had confronted the one guy his buddies across the street could rescue him and mess me up. 3 on 1 .... we got to see what they were wearing and the face of one. The thieves rifled through my car and only took a couple dollars. The car stank of booze like a dirty bum. They were in and out of my car in about one minute. No damages that I can see just a few bucks. . Now, I will start locking the gate, install motion sensor lights, and add more cameras to get better videos. -
Had a major breakthrough today and finished the woodwork. The mold bolts to the frame and the frame bolts into the vacuum machine.
-
I found out that the mold must be bolted, screwed, or glued to 3/4" plywood... Always something , I did not know this when I started the project, and just found out this week! I thought you just set the mold on a table and the machine did the rest... LOL. Now I am embedding bolt anchors into the mold, that way the mold can be removed from the plywood if ever necessary. . There was no plan for this, but again luck was on my side and places for the anchors were found like it was designed for them from the begining. I am unawair of any bolt anchors that are specific for use in fiberglass and was not sure what to do. Finally decided that stacking two 1/4X20 Tee Nuts and embedding them as anchors was the best answer. The holes are drilled and ready, but the local hardware store is plum out of 1/4 X20 Tee Nuts I really am just designing as I go along.
-
I spent the day cutting air channels into the base of the mold. The channels connect to one of the 4 manifolds under the mold and suck out the air around the base of the mold. 15 lbs of air pressure on every square inch on the outside of the mold forcing the material into shape. I hope the mold is strong enough to survive, I did not know that 100% of vacuum is going to go through the mold! Aluminum is the material of choice for these things as composite fiberglass molds have a limited life. The good thing is they can be repaired to extend their life a little. So far I have been very lucky, considering all the things I did not know about when I started this project.
-
I just discovered that I have to turn it into an actual tool that the vacuum machine can connect to. I thought that I was done but, I had only completed one part of the puzzle. So perhaps by next week sometime, barring any other surprises, it will be ready to test.
-
I have checked with and visited several shops over the last few months, and every one of them had a homemade vacuum machine that was cobbled together. They might work, but there was no temp control or other things in place to guarantee that the quality of the parts would be consistent. Today I found a great local shop with a beautiful professional vacuum machine to do the work. The part will have a black textured finish on the outside for a nice look, and a polished smooth inside for better airflow.


