-
Posts
1,754 -
Joined
-
Last visited
-
Days Won
252
Content Type
Profiles
Forums
Gallery
Everything posted by Xtra
-
It is never good when your car is vandalized, but it sounds like your insurance came through for you. New wheels with no rash and fresh rubber all around , very nice.
-
It was a very good day . Turns out that resin was the way to go all along, having the varnish go bad was a blessing in disguise . The resin cures harder, faster, and has a smoother surface than the varnish. I was able to sand and get the final coat of resin on the wood base today. All the base needs now is to cure completely overnight and then I can attach the vacuum fittings. The shaping is complete on the V2 mold and the first thin finish coat was applied. Getting closer every day, and I can finally see the light at the end of the tunnel.
-
Thanks, everyone for your help. I decided to go with McGard from Amazon, because of the high quality, positive reviews, and forum members recommendations. The price seemed fair and included wheel locks. I have never used wheel locks before, but now I don't have to worry about finding my car sitting on milk crates without wheels or the BBK.
-
Checked the alignment on the hood rubber bump stops, to see if anything could be done to help with the 2015 alignment. The smaller hole in the mold is by design to help get a tighter fit on the larger 2016 and up bumpers. As the 2015 bumpers are much smaller, enlarging the hole would not help the 2015 or the 2016 and up years. So this part of the V2 mold will remain as is, and the 2015 bumpers will fit, but not be centered in the hole. I post these little things because I feel a responsibility to those that have ordered an intake. This has taken much longer than anyone expected, especially me, and I want them to know that progress is being made.
-
Managed to prep the wood for another try at finishing today. The varnish was a time killer so this time I used gloss surfboard resin. Because the resin is activated with a catalyst it will completely cure in an hour or less. Tomorrow I will lightly sand it then decided if it another coat is needed. Once a smooth even coat is achieved It can be polish to a high gloss finish that should help with the release the intake. Baring any other unexpected setbacks, I should be able to mount the fittings and be done with this part of the project by tomorrow evening. ? Stripped and prepared Surfboard resin Coat of resin applied
-
This is what I am dealing with. 6 days later and the varnish never cured properly. It can not be sanded and touched up because the varnish is too soft to sand, it clogs the paper instantly. It has to be completely removed, scraped off, and then re-finished. This problem has definitely thrown off the schedule of making a test intake this week . I did not expect this, at least the varnish scrapes off fairly easily. Okay, back to work I’m burning daylight .
-
I have a 2016 Sport with the optional OEM 21 inch wheels. These wheels came with chrome lug nuts. The chrome covers on the nuts have come loose on a couple, and I am looking to replace them. I would prefer to upgrade and replace all the lug nuts rather than just replacing the few bad ones with more of the same OEM nuts Does anyone have suggestions on high quality replacement lug nuts that are better quality than stock, look as good or better than stock, And where to obtain them?
-
Had a couple hiccups with the new wood base. Apparently there was a very small bit of rain/ drizzle overnight a few days or so ago that I was unaware of. It was just enough to mess up the varnish before it could dry. I had varnished it 4 or 5 days ago but did not discover this mess until tonight. I was expecting the varnish to be completely cured and ready for the fittings. Now I have to sand and refinish it. It is disappointing but in reality it only cost a few hours of work, and no real damage was done. In the meantime work on the fiberglass part of the V2 mold continues. ?
-
Thanks bscott94, that info was on the last run of V1 made and is no longer valid. No worries, once V2 is complete and tested, I will begin taking orders for the next run, and I will announce it here in this thread. Stay tuned and keep checking in.
-
Ford offers an OEM H6 size AGM battery for your 2015 SEL. Ford part # (BAGM-48H6-760) 48Amp hours and 760CCA. Almost every battery manufacturer that offers AGM batteries has an H6 size battery. I ended up with a Pep Boys Champinion AGM H6 Battery for around $200 48AH and 760CCA at 0*F at 32*f it has 950 cranking amps. To get the Ford battery I had to wait for it to be shipped, and it cost more. Pep Boys had one in stock and I needed it right now. After I installed it I put it on a charger and topped it off. It has been flawless so far. The battery tray is designed to hold different size batteries including the H6. If price is no object and you want the best go with an Odyssey or Northstar as WWWPerfA_ZNOW suggests. They both offer the H6 size.
-
Today was a good day. Last night I was able to Bondo the frame so it could cure overnight. The Bondo seals any vacuum leaks and smooths the seams. I was able to get a coat of varnish on it, then I was redirected to the front door to varnish it... by my better half. Lucky for me there was just enough varnish left to cover the door before it ran out. I still need to attach the vacuum fittings and get another can of varnish to finish the base. This is what happens when I apply Bondo in the dark. It makes for a lot of sanding. Sanded down the Bondo and curved the corners with a router to help release the intake from the mold. Drying the varnish in the sun next to the orange tree. That one tree produces oranges by the bushel basket, no one gets Scurvy at my house lol.
-
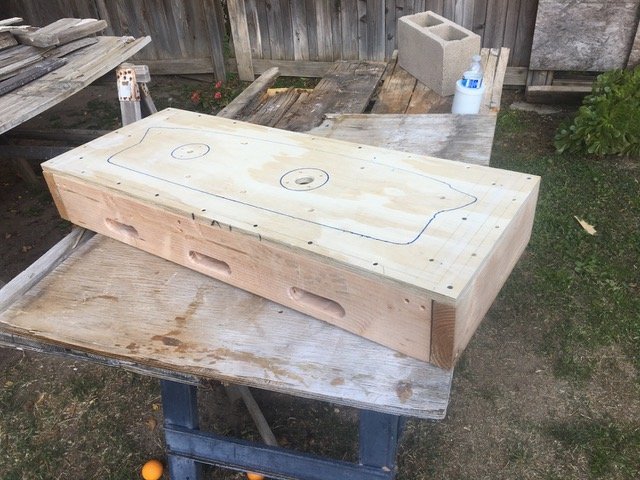
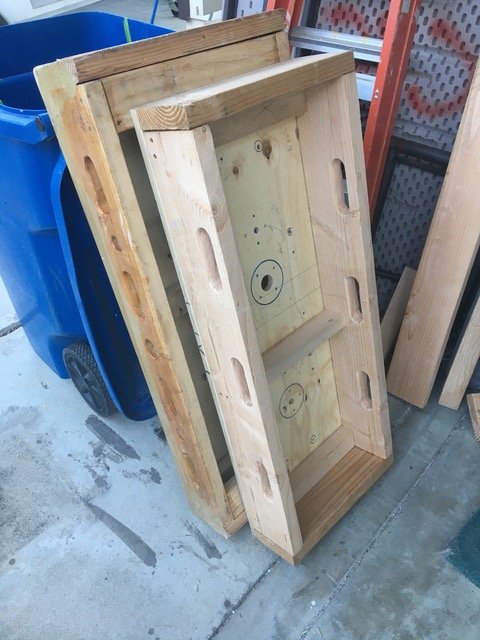
Today was hot!! Around 85*f , It was also productive. I was able to complete the woodwork and it is ready for the putty, sanding, finish coat, and mounting of the vacuum fittings. The base framework with handholds to protect fingers and ease of carry. Size difference between V1 and the smaller V2.
-
I am trying to finish this week with V2 and test mold one intake sometime next week. If everything goes well then the following week production should start back on track and filling the orders. Fingers crossed ?
-
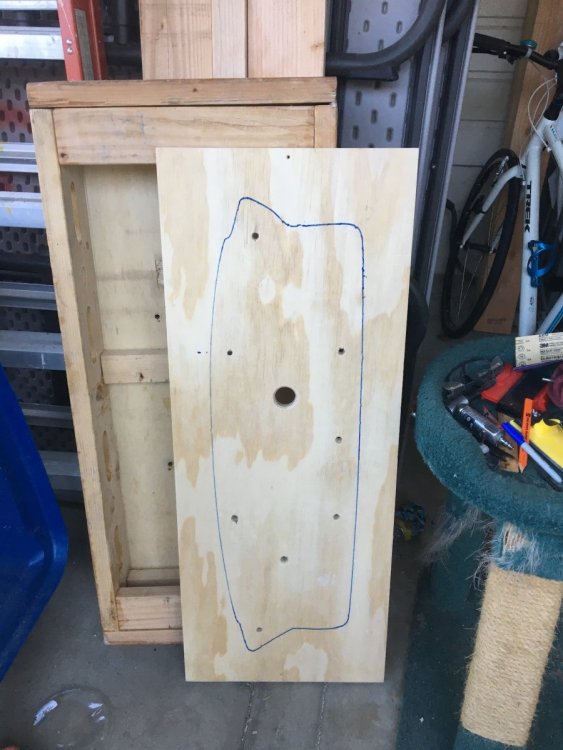
Spent the day gathering everything needed to finish the wood frame. After running around there was only enough time to lay out the design and drill the mounting holes. At least some progress was made.
-
There is a lot of work to do with the V2 of the mold. it has to be completely rebuilt, including the wood base. The wood base on V1 was too large and the vacuum machine had trouble holding onto the 2 X 4ft material. By making the base smaller it allows the machine a better grip on the hot material. The only other choice is to use larger pieces of material and there are problems with doing that. First, the black ABS intakes would go up in price ( possibly a lot ) and second, the carbon material only comes in 2 ft wide sheets, so using the carbon material with the larger base takes a chance of the machine losing its grip and ruining the part. I have cut the new top to size and will try to frame it in tomorrow. It is much easier the second time around.. LOL
-
Shout out and props to DBEDGE23 for working with me and helping with the 2015 fit, those are his photos of the 2015 intake.
-
Now that I have explained the reason to rebuild the wood base it should be known that the carbon material only comes 2 foot wide. And I have to get this off my chest. I do not feel that calling it carbon fiber is correct even though the vendor calls that. As I have explained before it is a vacuum form able thermoplastic base with as the vendor said with a thin carbon fiber layer bonded to it with a clear layer bonded on top of that. It is not solid carbon fiber. So to avoid any confusion I am going to call it carbon fiber material or carbon fiber effect or carbon fiber look. Because it is not solid carbon fiber. It is the same great looking material as in the photos and videos. If you ordered one and thought it was solid carbon fiber I apologize for any confusion for those who want a refund please pm me
-
It has gone way beyond that. I cannot even begin to count the hours. It is in the hundreds. I have to rebuild the entire wood part next. The shop has requested that it should be narrowed down and shorter. Apparently when using a 2x4 ft sheet of material there’s just barely enough to clamp to making it difficult to work with. Having the large sheets cut to 2x4 ft gives 4 intakes per sheet. So rather than only getting 3 intakes from a sheet and the cost per unit goes up , I must rebuild the wood base .
-
I wish to remind everyone that this is a one man backyard project. The engine compartment was not scanned. And that scan given to another company to develop the intake on a cad computer Then another engineer to take the cad drawings and make 5 axis mill CNC programs . Then actually CNC a pressure injection mold that is accurate to . 001 inch.. like a factory part. To develop the intake to that level tens of thousands of dollars would be needed. This is a low volume custom part that does not justify such a large investment. It is accurate enough to fit, look good, and work as designed for a lucky few enthusiasts. A one man project that is not accurate to .01 inch ( closer to .1 inch ) and is not Ford factory perfect. If you have a 2015 with the small rubber bumpers and you want them to be perfectly centered then I am afraid I cannot fix that and keep the tight fit on the 2016,17 and 18s.
-
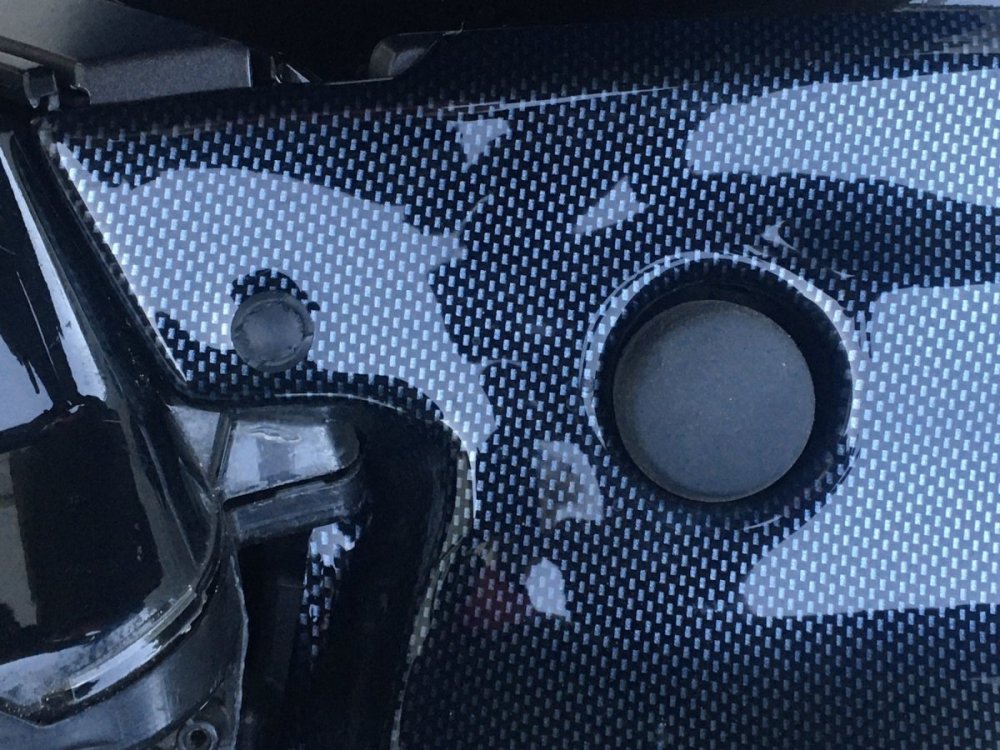
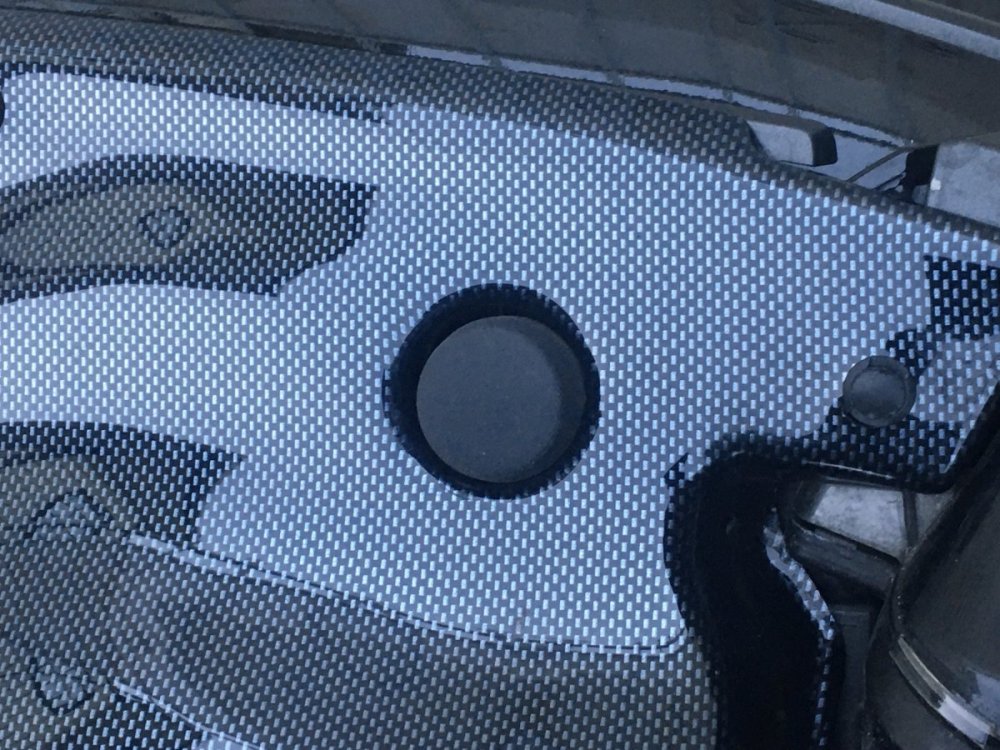
2015 VS 2016 This intake is on a 2015 and has a wrap. It is not pushed down over the bumpers or seated correctly with clips. The bumpers do move a little so it does fit, they are just off-center. When the intake is pushed over the bumpers it is not as bad as in this photo. The offset is divided between the two holes and not just the one as in the photo. These are the only photos I have to work with. Below is my CF intake installed on my 2016 Sport. You can see the different size of the bumpers compared to the 2015, and how they are a good fit. You do not just drop the intake into place, it has to be wiggled over the rubber bumpers as it is a tight fit to keep as much engine bay hot air out as possible. I am not sure how to correct this discrepancy between the 2015 and the 2016 Edge.
-
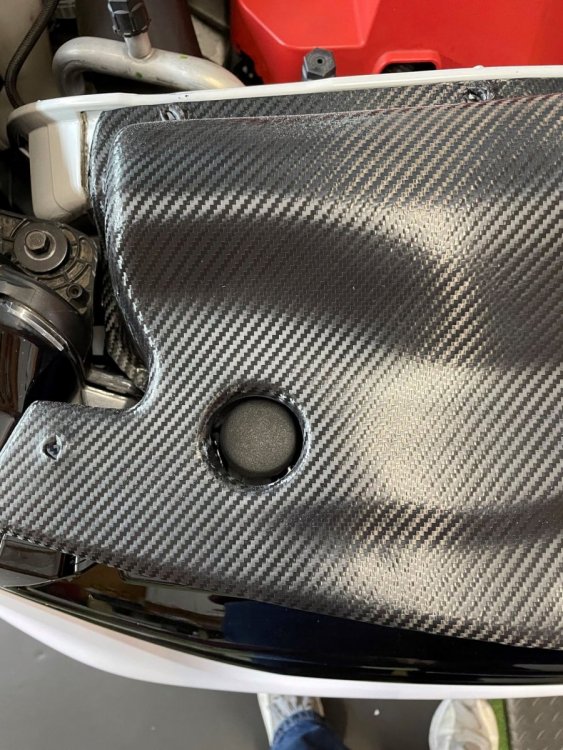
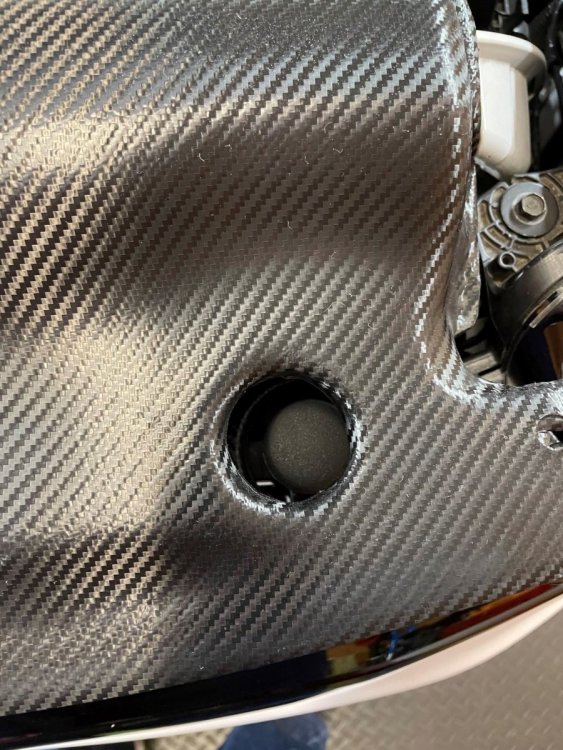
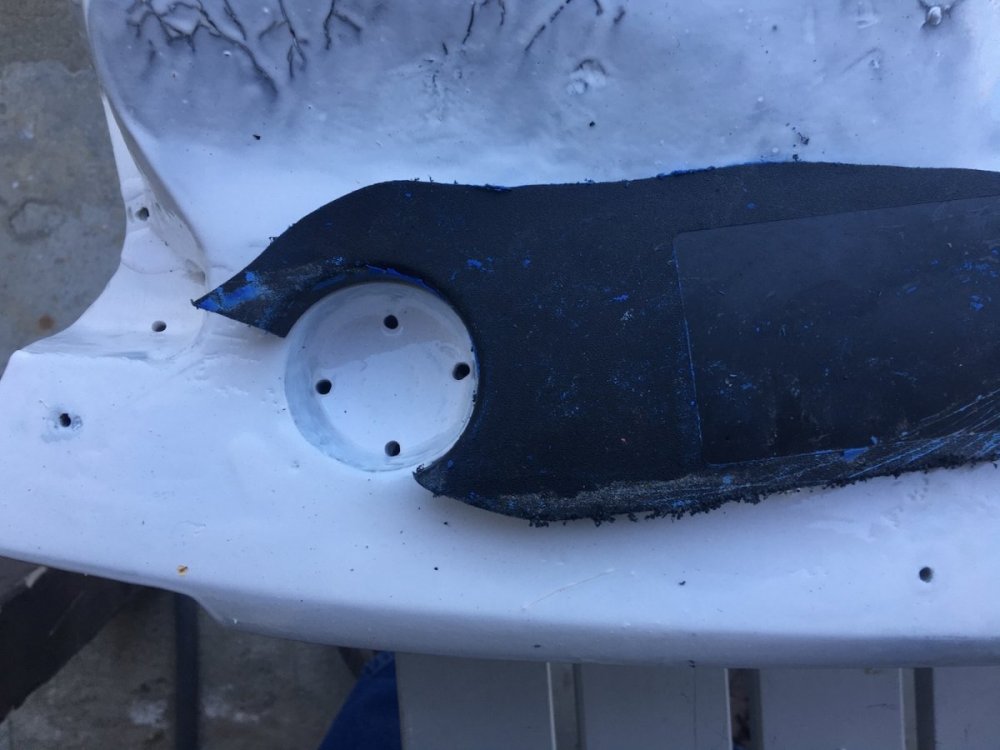
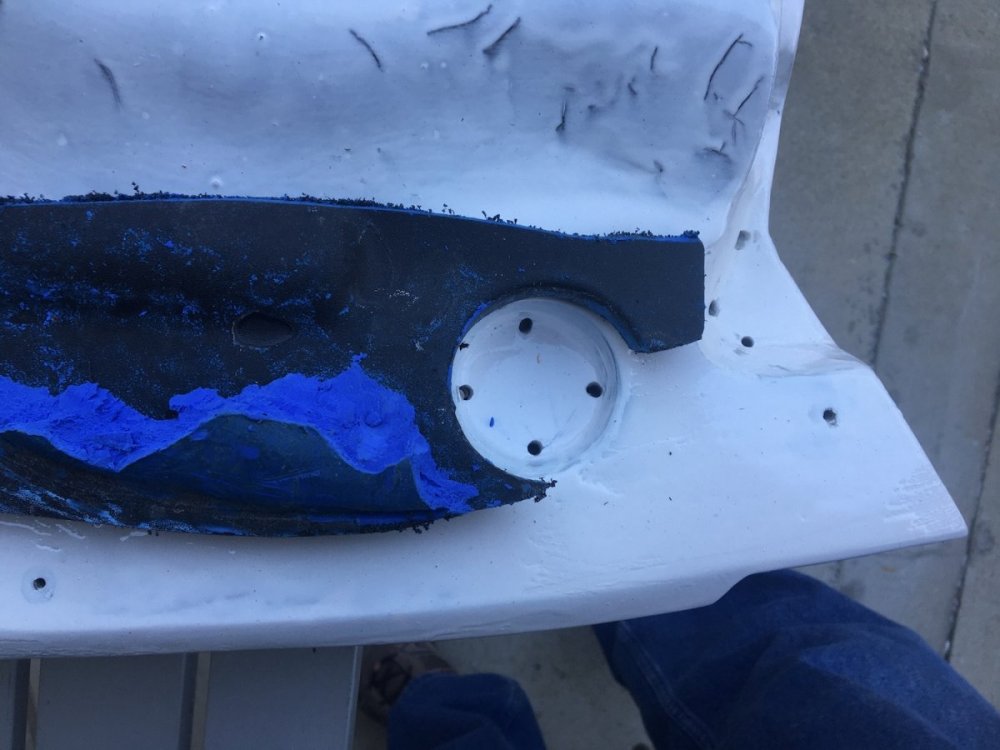
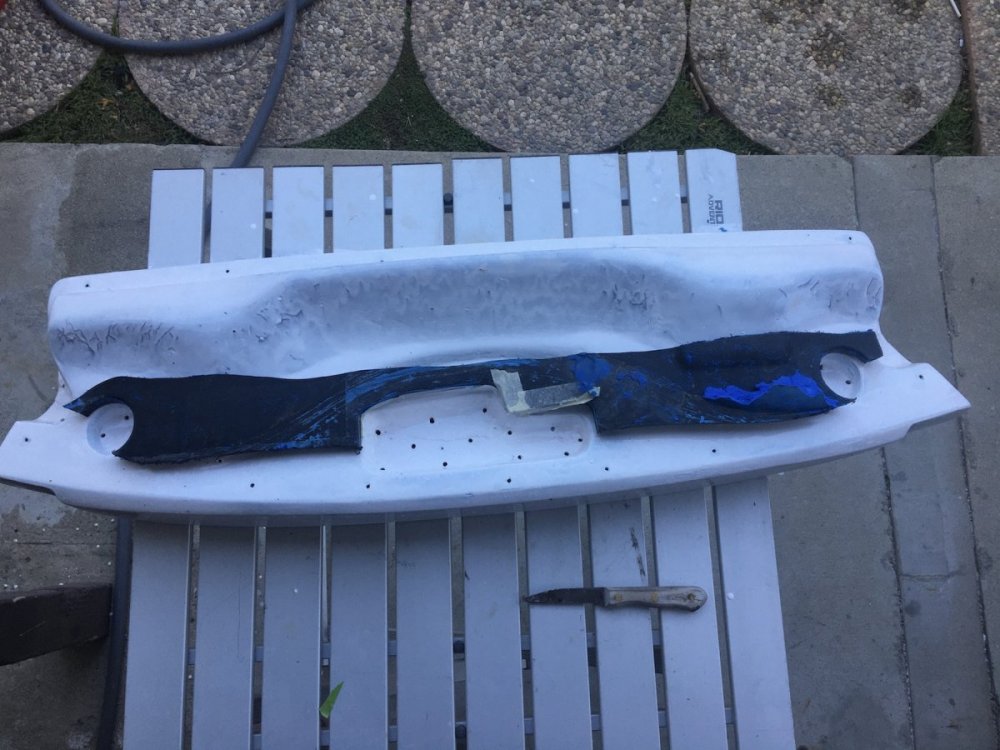
Checking the hood's rubber bumper hole alignment. I cut up the OEM sight shield some more to make sure of the alignment. As far as I can tell it is spot on even though the mold holes are a bit smaller than the OEM holes. There are different sizes of the rubber bumpers and they are much smaller on the 2015 Edge than on the 2016. When a CAI was placed on a 2015 Edge the rubber bumpers did not fill up the holes as nice as on my 2016 Sport and did not center up, even though they still fit in the holes. Not sure how to fix that.
-
-
I moved the gasket line back .25 inch to match the work I had done on the upper part of the intake. A 1/4 inch may not sound like much but in this case, it is a lot. I hope that 1/4 inch is enough to accommodate any differences in hood alignment. I also had to fill in the old screw holes because of the new smaller heads on the marker screws. I put in long screws and glassed-in around them, then I will pull the screws when the glass hardens and sand flush.
-
-
I picked up an air hose coupler from Harbor Freight that allows me to have up to three air tools hooked up at one time. This is a real-time saver not having to swap tools back and forth constantly.


