-
Posts
1,754 -
Joined
-
Last visited
-
Days Won
252
Content Type
Profiles
Forums
Gallery
Everything posted by Xtra
-
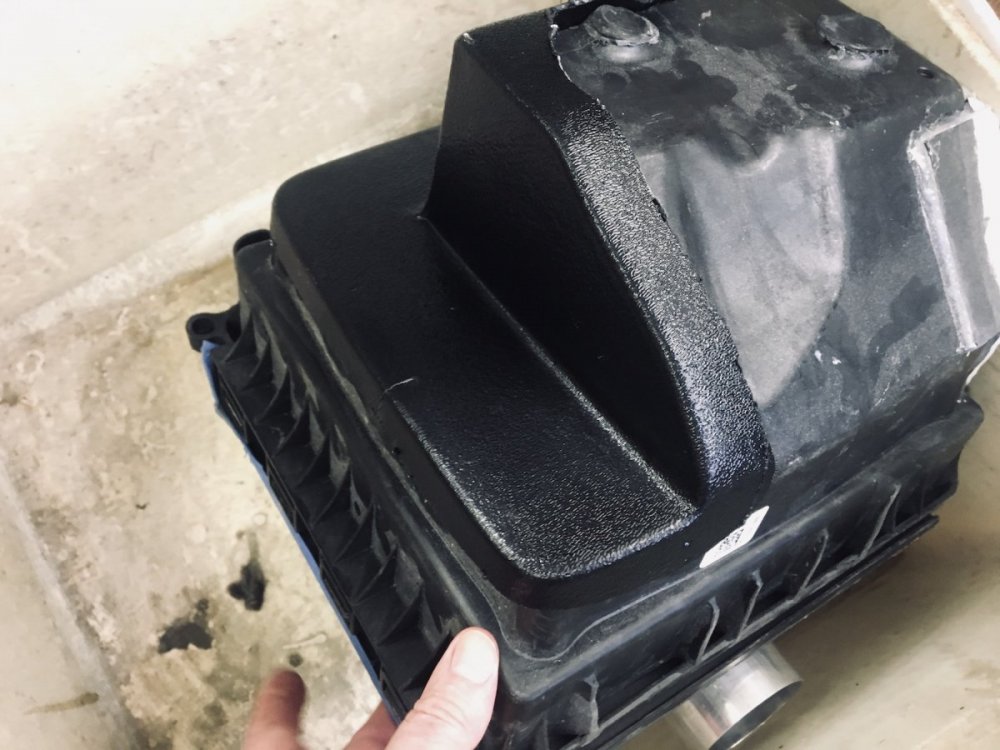
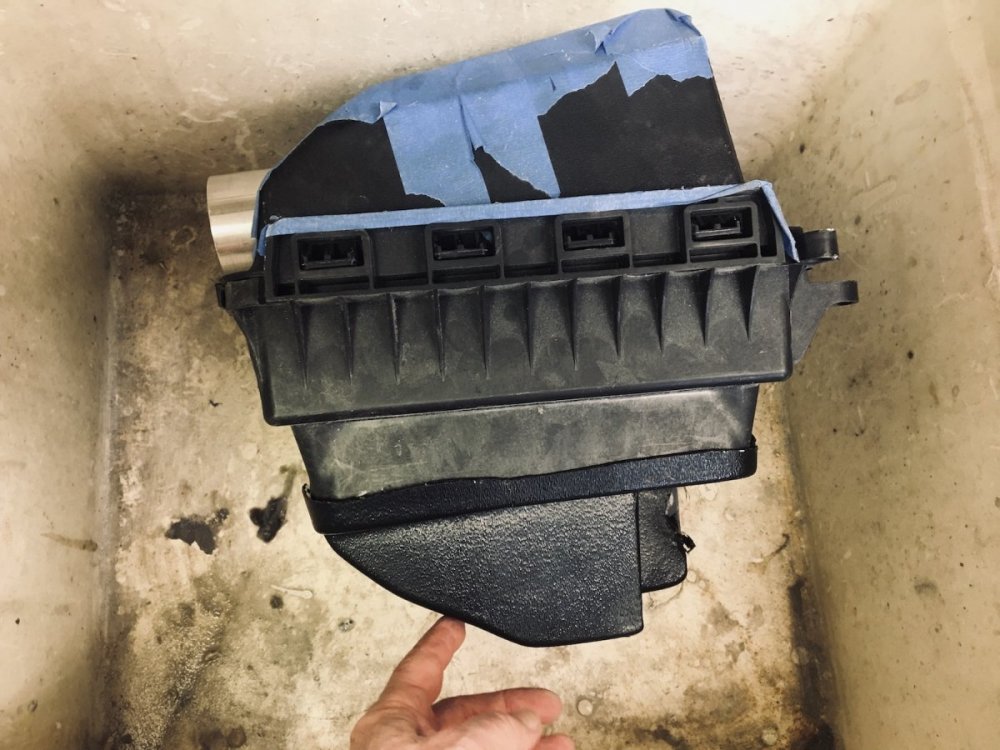
I have good news and bad . The good news first ... The Adaptor design works and fits. . The bad news is a problem with the ABS. Let me try to explain. The ABS I am using is .125 thick ( 1/8) when it is heated and pulled over the mold it stretches and gets thinner. At the top of the mold the ABS is .1 inch (1/10) and that is acceptable. The problem is on the sides it thins out to .050 and that is too thin IMO. It would work for racing when you don't care about it lasting more than the race,, I am afraid that it will crack and it feels cheep and flimsy. I am going to see if we can use a thicker material that would work. If not then the part would need to be injected molded or pressure molded and not Vacuum formed. And I cannot afford to have molds like that made. So to sum it up ....the Adaptor is on hold for now and may be discontinued, Last is there is good news, the custom modified air box with the patch is still viable and in the works. All its needs is for the wood box part of the mold to be updated and a jig for cutting out the snorkel inlet. I also have to figure out how much it costs to make. Getting close, but still a lot to do.
-
All of the intakes have been shipped . ****If you have ordered a V2 intake and did not receive a PM from me today with your shipping info, please contact me ASAP. Now that all the V2 orders have been filled I can turn my attrition to the V3 .
-
I finished prepping all of the intakes they still need the final hand fitting then boxing. Shipping soon ! There are still a few available in this run PM me if you are interested.
-
Bought a new 12 inch compound miter saw at Harbor Freight today and tested it out by cutting some latches. I was able to cut out 8 of them quicker than I made the first one by hand. It cuts clean with a special blade made for cutting nonferrous metal. This tool is going to save a lot of time.
-
I just received a very nice review that I would like to share. From Christy, posted on the MACT FORD EDGE fb page: " Here is my experience so far after installing the fresh air intake on my 2015 Edge SEL. Everything except installation is purely observational, as I do not have anything to perform actual measurements. My husband said the installation was extremely easy. He had it done in less than 10 minutes. I like the way it looks. The appearance is sleeker and cleaner, in my opinion, than the original part. It fit perfectly, as well. As far as performance gains, I would say mostly negligible. However, it is the only modification on my 2.0 and there's been no tuning at all. There have been times that my fuel economy has gone up to almost 27 mpg, that had not occurred before installation. I cannot say if it was a direct result, though. I feel like this could be a valuable piece of the overall puzzle if someone were performing upgrades to improve the airflow. I'm impressed by the ingenuity and hard work that went into the fabrication. "
-
With such a high DA you did good. Yes, an octane booster like Race Gas or Torco will help allowing more timing advance. I bet if you try again in the fall when temps go down some. 1. the DA will be lower 2. and with Torco or Race Gas octane booster. 3. a 1/4 tank of fuel 4. take out the spare tire and jack 50 lbs or so dead weight 5 you can add a different air filter like K&N or aFE of other. 6. turn off traction control 7. use the sport mode. 8. open the hood between rounds to help cool down, You will see that 13 second pass.
-
Just returned form a little vacation to get out of the heat for awhile. Today I was able to see if the latches and the gate I made wold work with the adaptor. I have not given the gate it's final shape yet, but it looks like all I will have to do is pop-rivet it in place once it is trimmed . The latches also appear to fit and work fine and are ready to be riveted to the adaptor plate. In this photo you can see the top half of the V3 and how the aluminum latches will work. The round pipe sticking out of the top half is the sensor port. This is what I call the gate, for lack of a better word. It is located opposite of the aluminum latches and completes the mounts for the top half to the adaptor Above on the bottom left, you can see the OEM latches that will hold the adaptor to the bottom half of the OEM air box. I have to make some parts for bottom half next..
-
Here is the adaptor, the mold worked as designed and made a good part. No mods are needed, and it is ready to go. Here is the adaptor rough cut, ready for testing. The three parts from L to R: 1. The V3 top half . 2. Top of the stock air box bottom half . 3. The adaptor The assembled V3 air box top half, the adaptor, and the stock air box. It fits and works, but needs clamps ,and latches, and gates ,and and and .... This is why I like the patch method better. This method may fit on cars that the custom V3 air box bottom half won't fit into. This method uses the OEM bottom half of the air box and the V3 filter top half.
-
I was able to cut out a test part from this mess. Here is the part that is used . This is the test fit of the part on the V3 bottom half and it fits just fine. I just need to tweek the wood box part of the mold, then it will be ready for testing again. This is the complete V3 air box assembled, looking at the side with the patch. Of course I will clean up the cuts and make then straight, but this is just quick test fit. This will never be seen as it is on the bottom side of the air box. I am liking this method over the adaptor.
-
Today I picked up the test parts from the plastic shop and there were some problems with what I call the patch mold. It is much taller than the adaptor mold and I need to make the wood box larger so that there is more plastic to pull around the taller part. The adaptor mold worked fine as is. I will make the patch mold box the same size as the adaptor mold box, that will save on set up fees as only one set up will be necessary for both . One of the tests was a complete fail and blew out the ABS completely . Out of 4 attempts only one was good enough to test. This was the best of 4.
-
-
Two done, I have given up on the heat going away anytime soon, it was another 108* day. I needed another approach to getting these V2 intakes delivered. For the last few days I have started work after dinner around 6:30pm. This is when it starts to cool off some, and there is still plenty of light. I stop work around 8:30pm when it starts getting dark and out of courtesy to my neighbors.
-
-
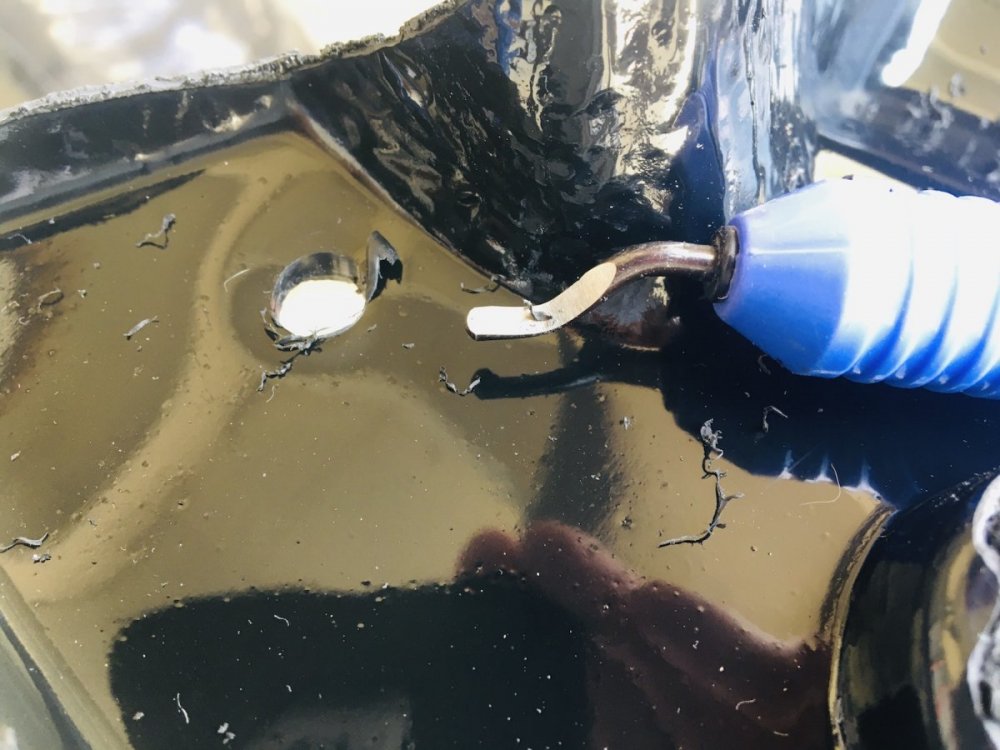
After drilling all the pilot holes I go back and re-drill them to size with a larger bit. I then use this blue tool to clean up both sides of the holes after drilling. A single hole takes 4 operations to complete. This is the backside of the CF intake, it is smooth like the ABS to allow better air flow. Here Is a CF V2 awaiting to have its holes cleaned up. Now that all the intakes have their mounting holes, the next step is sanding the edges to clean up the saw cuts. That is a operation that uses hand tools, air tools, and a belt sander to accomplish. I have to be diligent otherwise time just keeps slipping, slipping, slipping, into the future...lol ... And I need to get this done so I can continue work on the V3 once the parts are molded later this week. Now that all the holes have
-
Finally saw a drop in temps to the low 90s, and managed to drill holes in all the intakes . I first drill pilot holes. The pilot bit is the same size as the hole markers. This helps with accuracy, and as everyone must know by now the holes are not spot on, but close enough to work. Each V2 intake has 12 mounting holes that need to be finished. The backside is smooth to allow the best air flow, and the topside is textured on the ABS intakes. You can see the hole markers that need drilling in this photo. I just use my cordless drill for this job. At this point I have to be careful and a bath towel helps protect the finish, this is super important when working with the Carbon Fiber Material.
-
There has been a heat wave this week, thankfully it cooled off a bit today, it is around 105 >106F in the shade where I work. It has just been too darn hot to work this week. I hope that this heat wave will break soon, I can handle 90 to 95 but 100 and over it gets hard to deal with. I thought I would have at least two intakes ready by now, but family demands and a heat wave have put me back a few days. I feel I owe an explanation. and I apologize for the delay,
-
Prototype parts are being molded this week, and testing will begin soon after. I know that the testing will take a few weeks. I can't say exactly when the V3 will be available, if you follow this thread you will be one of the first to know when the V3 air box and filter will become available. I regularly post updates on progress, and I am committed to getting the V3 into production ASAP. Thanks for your interest.
- 574 replies
-
- 10
-

-
The CF V2 intakes rough cut & ready for drilling and finish work. I wrap them to protect the finish.
-
Just thought I should give the heads up to fellow Californians. According to Road and Track " If you live in California and run an aftermarket tune on your car, you might want to think about flashing your ECU back to stock before heading out for your biennial Smog Check. Starting July 19, 2021, testing stations will begin to check whether cars are running OEM or California Air Resources Board (CARB)-approved tunes. If your car isn't, it'll fail the test." Another source states " Before your vehicle will pass a Smog Check, you must have the vehicle’s software restored to the OEM software version. Once the software is restored, have your vehicle reinspected by a licensed Smog Check station. Note that vehicles initially directed to a STAR or Referee station must return to the same station type to complete the inspection process."
-
Picked up the intakes from the plastic shop today. The CF intakes are the ones wrapped in plastic for protection, and the ABS ones are on top. I will start cutting them out tomorrow. There are a couple extra of each that I had molded for anyone wants one.
-
Good question, I don’t know if you have to have a tune with the V2&3 both installed. The V2 runs fine with a stock tune & no one has a V3 yet. I do know that a custom tune would extract the most from them. Hope this helps answer your question.
-
When the 2.7EB is WOT at 6,000 RPM. The engine is spinning at 100 Revolutions Per Second. Each revaluation uses 2.7 L of air ( not counting boost ) so.. multiply 2.7 L X 100RPS and you get 270 Liters of air per second moving through the intake and into the air box at 6,000RPM . That’s a lot of air
-
Using my drill press as a vertical mill with a cross slide vice and an end mill bit to make the slots for the gate.
-
Hello, Weather Tech has several different options to choose from you can find them here : https://www.weathertech.com/products/?gclid=EAIaIQobChMI07TwtIPX8QIVMiGtBh14IwbeEAAYASAAEgI_I_D_BwE
-
I hope that everyone had a great 4th of July and are enjoying this long Independence Day weekend. Although I have posted photos of the V3 air filter before in this thread there was nothing to show the scale of just how large it is, these two photos should help. I obtained a OEM air box at the start of this project to help create the adaptor. These photos show the V3 filter compared to the stock air box. I think the V3 filter should flow more air than OEM with less resistance. What do you think? The V3 filter dwarfs the OEM air box.


