-
Posts
1,754 -
Joined
-
Last visited
-
Days Won
252
Content Type
Profiles
Forums
Gallery
Everything posted by Xtra
-
Both of these are reject prototypes but, the one the right is the original version, on the left is the new improved version. It is much taller now allowing it to be trimmed to the correct height, and the steps make room for the filter. The mold works better as well with more holes drilled in it. Now the ABS is pulling in nicely giving better definition.. These are both prototypes it is slowly getting there. The one on the right is the earlier version, neither are there yet.
-
When I saw how well the white ABS worked I thought about how the V2 and the V3 Adaptor could be made in custom colors.
-
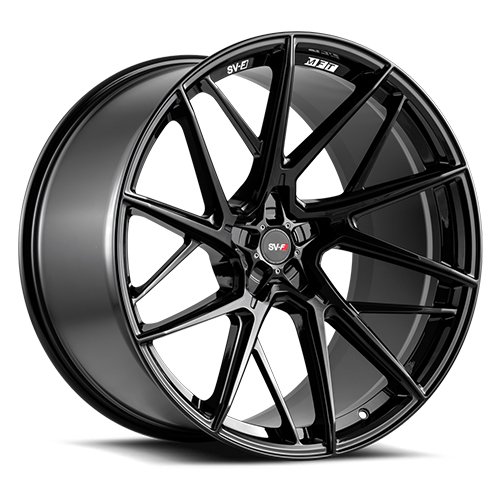
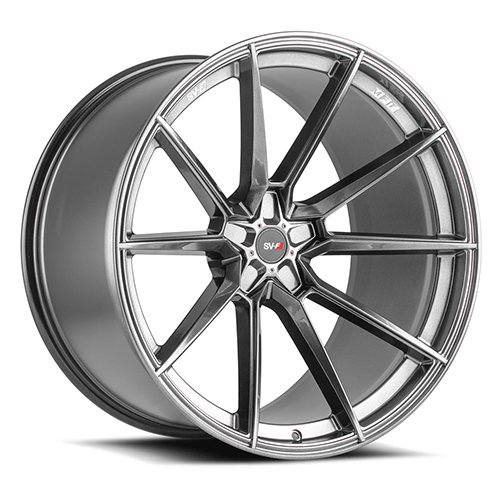
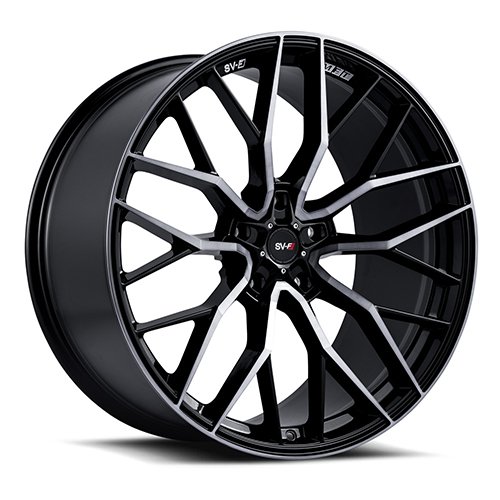
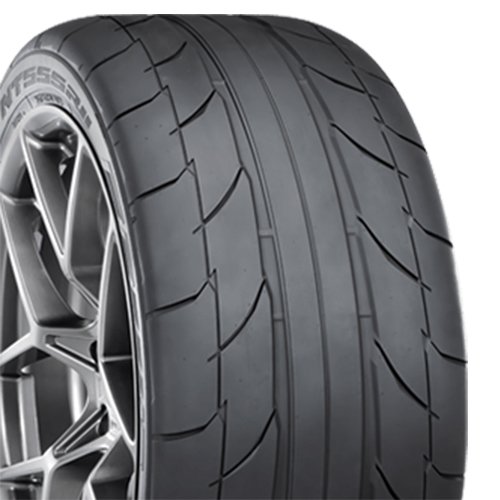
Savani makes several different 20X10 +55 5X10⁸ CB 63.4 wheels. A 10 inch wide + 55 wheel will stick out 1/2 inch more on both the inside and outside than the 21X9 OEM wheel. 1/2 inch will put the tire right at the max of where I want it to stick out. I am fairly sure that the 295/35 R20 tire will fit, as well as 295/40 R20 tire, but I would like try the 305/35 R20 Nitto NT555RII . What rim do you like? SVO6 Nitto NT555RII 305/35 R20 Summer Tire SV04 SV02
-
Just came back from the plastic shop with 7 CF V2 and 4 black ABS V2. I have a ton of work ahead of me, but first I have to get the V2 back orders filled and shipped . Because I made so many in this run there are both Carbon Fiber and Black ABS V2 available and in stock. PM me if you are interested and want one for your 2015 to 2018 Edge.
-
The shop made me a couple of prototypes and now I have to cut them out to see if the clearance problems are fixed. This is the mold ready to go mounted in the vacuum form machine. There is very little of the wood box that a extends past the mold, and it caused a problem with the thicker material. Here you can see how the thicker ABS was damaged when puled over the mold. The wood box will have to be made larger to have more material to draw from. I made the wood box small trying to get the maximum amount of units from a 4X8 foot sheet of ABS. The size it is now will make 10 units per sheet, after I make the box larger it will make 8 units from a sheet. When we tried to pull the thick ABS off of the mold this happened. Making the box larger should fix this problem as well. We found some scrap of the thinner ABS at the shop, because it is a prototype we decided to use it even if it is white. The thinner ABS molded great and no mods to the mold are needed to make it work. Now if the shape is good all I will have to do is fix the box, then I can expect results like this with the thicker material. .
-
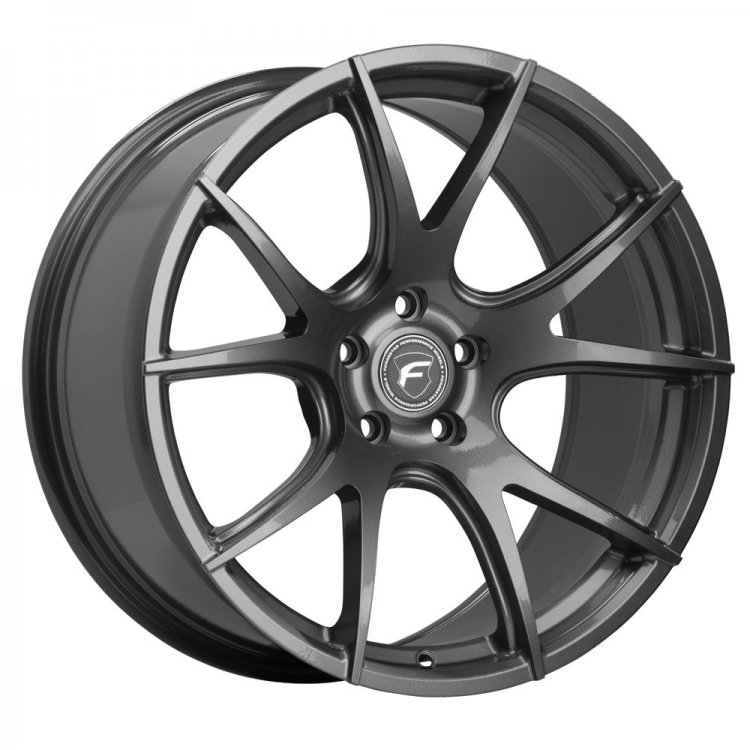
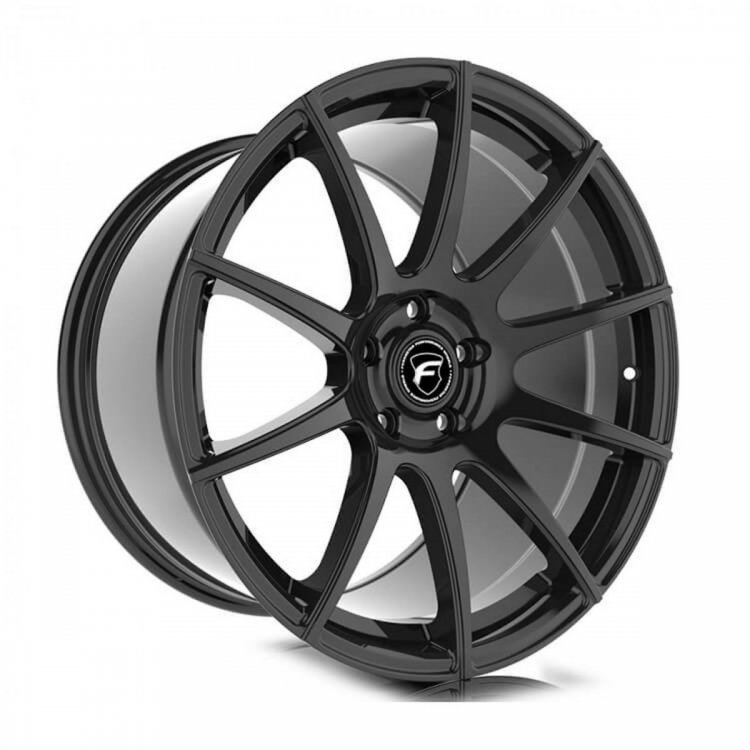
There is not enough clearance behind the tire to tuck the Forgestar wheels inside the fender. They would end up sticking out to far for my taste. I need to look at 10 inch wheels.
-
I just found some wheels that might fit perfect, because they come in custom offsets from +17 up to +61 and + 63mm. That allows one to set how far out the tire sits, and how much is moved to the inside. The 20X10.5 Deep Concave will work on 265 to 315 tires. MSRP is $629 each, but I am sure that I can get them for less. I need to measure how much clearance there is on the inside, as I want to tuck them in as far as possible and avoid the tire sticking outside the body. I think +60 or + 61 would look nice "If they fit". That would be 1/2 inch out and one full inch on the inside from stock 21X9 +55 wheels. I need to get under the car and measure the clearance to see just what offset will work. I am looking at 20X10.5 +61 5x10⁸ CB 63.4 wheels. Will they Fit????. What wheel do you like better? I am liking the CF5V.. FORGESTAR CF5V FORGESTAR CF10
-
Today the correct thickness CF material arrived. I am taking it to the plastic shop for vacuum forming and will have another run of Carbon Fiber V2 intakes available soon. It is a run of 5 and 2 are already reserved. I will also have a few ABS V2 made to reach the minimum order size. .
-
Dropped off the mold at the plastic shop today, They said that a prototype would be ready sometime next week. I am having them use the thinner material as a cost saver, and it is easier and faster to work with. I just need to see if the mods work and test the new latch options I have been working on. I hope everything works and I don't have to make any more modifications.
-
Managed to scrounge up enough bolts to do the job, and only had to cut one to length. It is now ready to go to the plastic shop for testing. Test to see how well it works, and test to see if I was able to correct the problems. Hopefully everything is fine ... if not it is back to making more adjustments. I believe that everything is fixed on the top of the mold, but I am concerned if I made it tall enough. If it turns out that it is not tall enough, I won't have to rebuild it again, I will just add a wood spacer to the bottom and raise it up some.
-
Finished ready to mount... I still need longer bolts, but the fabrication is done. First I laid out the cut lines with a felt tip marker. Then adjusted the saw cut depth. I needs to be a shallow cut so the ABS will not pull into the slots. All the slots are cut and it is ready to mount to the wood base. These vacuum slots pull the ABS into the bottom edge and hopefully create nice flat sides on the Adaptor.
-
The underside, The reason it is hollow on the bottom is to create a manifold or plenum chamber. All the vacuum holes I drilled on top pass through the mold and go into this open area where the vacuum is applied. I was able to locate the original mounting T-nuts that were covered by the rebuild. This saved a bunch of time, but now I need to buy some longer mounting bolts as the threads are cast deep into the mold.
-
Can you post some photos of the new 295 tires and that trick exhaust system. Please
-
Getting closer. Today, I put on a clear resin gloss coat and let it dry throughly. Then all the vacuum holes were drilled and cleared with compressed air. After it dried... let the sanding begin. Started with 120 then 320 dry sandpaper to smooth out the finish. Next it was completely wet sanded 4 times over, starting with 400 grit then working my way through 600, 1000 , and 1200 wet sandpaper before I hit with a polishing compound. All that remains is work on the bottom side Two new mounting T-nuts need to be installed and vacuum slots need to be cut into the foot before it is ready to mount to the wood base. It's so shiny I need sunglasses...lol
-
All that snow and cold, it's all too much for a CA boy, I get cold when it is lower than 70F. lol Looking good, you should have a very nice, like new fun to drive reliable car when finished. Macbwt you got great skills, thanks for sharing. .
-
Looking good Duece. A pleasant surprise to to start the day.
-
The modifications to the Adaptor mold are getting close to finished. The major shape changes have been completed and it is in the fine tuning stage. The bottom edge of the ABS was not pulling in tight to the mold creating a outward curve on the Adapter right where it needs to be cut. So I raised the mold to make the Adapter taller that way it can be trimmed to the correct height and get rid of that curve. The corners were reshaped to fit the lid better, and made more room for the filter. It still needs a lot more work before it is ready to be tested.
-
Give them a call. It is my guess that there is not enough demand to keep them in stock and if they still have the jig all they would need is an order and some time. Downpipes Zury Fabrications, Zurymakesit@yahoo.com, (410) 579-1470 2.5 DOWNPIPES: Note: Fitting to a stock or 2.5 exhaust system must be clarifed!!! Add $100 for cerakote (heat management) Pricing: Catless 304ss downpipe - $925 Hi-Flo Cat 304ss downpipe - $1125
-
I took off the V2 and V3 while my car was in the body shop and put in the stock tune just to be safe. To celebrate getting my car back I first re-installed the V2 and V3. Then I put in the 93 tune and filled up the tank with 91 and octane booster I have never run the 93 tune with the V2 and V3 installed until today and the car is a beast . It loves all the cold air the V2-3 combo provides with the Aux Air Intake. It is running super smooth and strong accelerating hard from 60 to 80 + MPH., I even heard a small fourth gear shift chirp from the tires. After I get the oil changed I will pull out the Dragy and try to get some numbers. I had rented a Ford Focus with the EB 4 cil engine. It had good pep and was easy to drive , but I missed my Sport and am happy to have it back in top shape.
-
Red95stang has one installed on his ST, and Duece should have his installed soon ... I hope. The V3 is currently installed on a ST and a Sport.
-
What have you done to/with your Edge/MKX today?
Xtra replied to WWWPerfA_ZN0W's topic in Accessories & Modifications
Got my car back from the shop all fixed up from the car wash incident.. Took the scenic rout through the canyons on the way home. lol -
I just came into possession of two more lids. That means two more V3 can be made.
-
I worked on the clamping system and this is a prototype using the original mold. All the parts fit and hold the three parts together nicely. They go together quickly and easily without tools. Now that I know it works I just need to make it look better. Good thing is most of the latches will not be visible once the V3 is installed in the car. This is what I call the gate and it attaches the lid to the Adaptor. Don't worry about the gaps between the Adaptor and the lid. They are being addressed with the rebuild of the mold. These are the latches that are on the opposite side of the gate. Once these are clipped the lid is firmly attached to the Adaptor. This is how the OEM Air Box is clipped to the Adaptor. Small groves are machined into the aluminum for the latches to catch on. It may be changed into two catches instead of one long one This is the opposite side showing how the OEM Air Box is attached to the Adaptor plate. Once the Adaptor is lacted into place it holds solidly and connects all three parts together ( Lid, Adaptor and OEM Air Box ) without rattles or movement. High density rubber gaskets seal it up air tight. If I can make this work it will simplify iinstallation, cut costs, and should fit every Edge with a 2.7EB or 3.0TT no matter the year. Heck, this might fit other Fords with the 2.7EB, if they use the same Air Box and filter as the Edge. Will have to do some research that possibility.
-
Here you can see how the filter interferes with the old mold as well as the slight curve out along the bottom edge of the adaptor. By raising the mold one inch and squaring off the front edge, I hope to gain the space needed.
-
Here are some photos of the work being done I use cardboard with packing tape on it to create a mold. The packing tape acts as a mold reliese, the fiberglass will not stick to it. The mold needed to be made taller because the bottom edge of the ABS was not pulling in completely when I changed up to the thicker material. This curve at the bottom edge had to be cut off thus making the part shorter and causing an interference problem with the filter. When the cardboard is removed it looks like this. You can see the one inch that I added to the height. I use hot melt glue to attach the cardboard to the mold. It sticks fast and holds strong enough to do the job, but any residue can be removed easily and pulls right off. Once the mold was cleaned up I used bondo to create a flat base and fill any low parts. A little sanding and it will be one step closer to making another test part.


